Set up the Microsoft Authenticator app
- Last updated:
Set up the Microsoft Authenticator app on your smartphone using your computer.
To print this document go to File and select Print (Ctrl+P in Windows or Cmd+P in Mac). You can also choose to save as PDF file from there. Note: Scroll to the bottom of this page to ensure all images are printed.
Before you start make sure you have access to:
- your computer
- your smartphone
- an internet connection
- the Google Play Store or Apple App Store
To start the process, use a web browser on your Android smartphone or Apple iOS device to navigate to https://aka.ms/getMicrosoftAuthenticator. This will open a Microsoft web page for the Microsoft Authenticator app, complete with links to the web version of the Google Play store (Android devices) and Apple App store (Apple iOS devices).
On that webpage, tap the link that corresponds with your smartphone device. Then tap Store to open the Apple App store on an Apple iOS device. The Microsoft Authenticator app will be already selected in the store, ready to download and install.
Alternatively, you can open the Google-Play store or Apple-App store respectively and search for the Microsoft Authenticator app. Find the free official Microsoft Authenticator app published by Microsoft Corporation in the search results.
Instructions
- Download and install the Microsoft Authenticator app onto your smartphone device as you would with any other smartphone app. You might need to Accept or Agree to any prompts to complete this successfully.
- To use the Microsoft Authenticator app, you will need to tap I agree on the Your privacy matters screen. Then tap Skip in the top right corner of the Peace of mind for your digital life screen, and you will end up on the Ready to add your first account? screen. If you have used the app previously, you can miss out this step.
- Now use a web browser on your computer to navigate to https://aka.ms/mfasetup.
- You may be asked to log in to Office 365 (if not, you will move straight to step 5). If you are asked to log in to Office 365, enter your Cardiff University email address and click Next. You will then be redirected to Cardiff University’s familiar login screen. Please enter your Cardiff University email address and password as normal and click Log in.
- Those without a Cardiff University email address (and only a username) will need to enter the username followed by ‘@cardiff.ac.uk’.
- If you have not previously set up any MFA methods then after successfully logging in, you will be prompted that more information is required. Click Next and skip to step 7.
- Otherwise you will be taken to the My Sign-ins page where you can review the MFA methods you have already set up so far. Click on Add method.
- In the popup dialogue that appears, select Authenticator app from the drop down list, and then click Add.
- You will be presented with a Microsoft Authenticator dialogue which says to start by getting the app. Click Next.
- The next screen prompts you to Set up your account. Click Next.
- The next screen provides a QR code. Leave the QR code on the screen, and perform the next steps on your smartphone.
- On your Android/Apple smartphone, open the Microsoft Authenticator app that you downloaded and installed. (If you are asked if you want to allow Notifications, please tap Allow. If you are asked about gathering non-personally identifiable usage data, please tap OK).
If Microsoft Authenticator’s “app lock” feature is already active, you will need to enter your smartphone unlock code, or biometric (such as fingerprint or face recognition) at this point, before you can access the app.
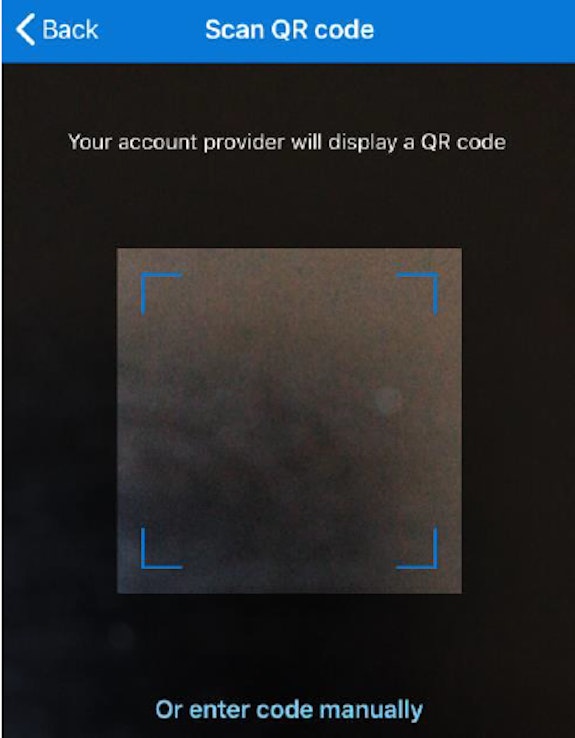
- In the Microsoft Authenticator app, on the Ready to add your first account? screen, tap the Add account button in the middle of the screen. If you already have other accounts set up in the app you will see these listed and will not see an Add Account button – tap the plus icon in the top right of the screen instead. In the list that appears tap Work or school account, and then tap Scan QR code.
- The Microsoft Authenticator app will then attempt to use your smartphone camera to enable it to scan the QR code. If you are asked if you want to allow Notifications, please tap Allow.
- Use the smartphone camera to scan the QR code on the web page on your computer – see step 9.
- After successfully scanning the QR code, the Microsoft Authenticator app will display a new entry within Accounts of Cardiff University with your email address.
- Switch back to the web browser on your computer, and on the web page with the QR code click Next. Microsoft now want to test that you can use the Microsoft Authenticator app successfully by showing you a two digit code.
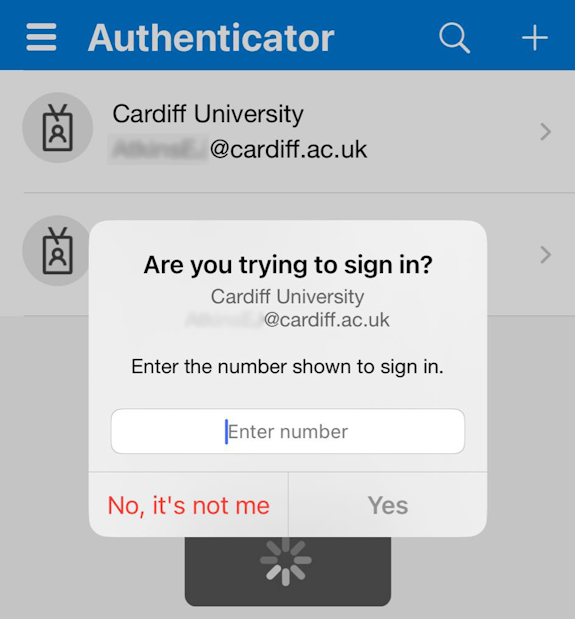
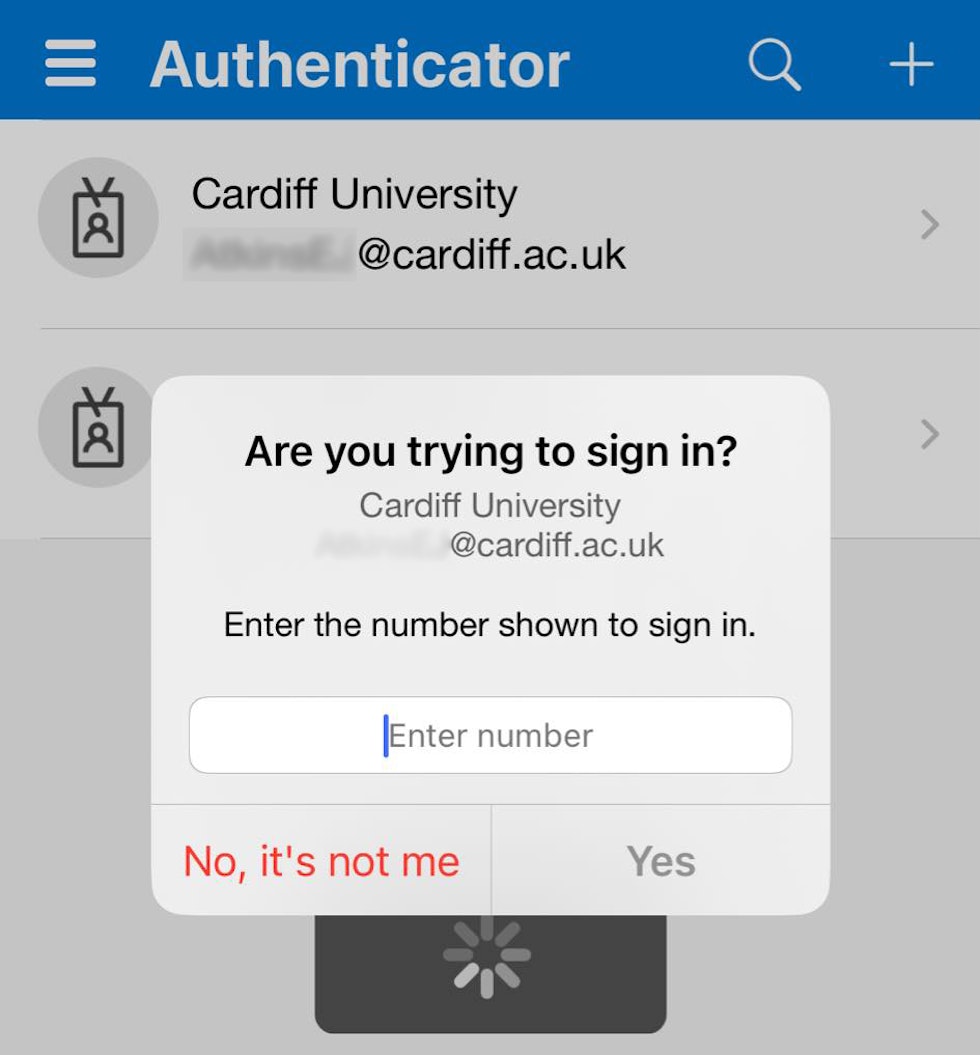
- A notification should appear on your smartphone asking you to enter the number shown on your web browser to sign in. Enter the two digit code and select Yes.
- If the Microsoft Authenticator “app lock” is active, you will need to enter your smartphone unlock code, or biometric (such as fingerprint or face recognition) before you can approve the request. Ensure that you tap Approve to complete the test-run.
- The web page on your computer should have already updated to show Notification approved. Click Next.
- The set-up process is complete – the Microsoft Authenticator app is installed and connected to your account. You can now use the app to complete MFA verifications for your account. Click Done to finish.
- You will be taken to the My Sign-ins page where you can see the MFA methods you have in place.
We highly recommend that you add additional methods of authentication. If you cannot use your smartphone for some reason, you could then use your additional methods, and still gain access to your account.
Mae’r ddogfen hon hefyd ar gael yn Gymraeg. / This document is also available in Welsh.


